We had our third battle Thursday, 2010/05/27. Because it was a weekday, Mike has night classes three times a week, and I've got a three year old and a four month old, we set a hard limit of 2230 being the cutoff time. We started pretty close to 2030 and were making decent time until aforementioned infant spewed about four ounces of formula all over my wife. So the game ended at about 2215 right in the middle of my shooting phase at the bottom of turn 5, with no clear victor apparent. I don't know how in the hell the rulebook can be so blasé about 1000 point games taking "about an hour."
We rolled for Seize Ground and Pitched Battle, but went with Annihilation for simplicity since time was a factor. Mike won the who's-on-first roll, and made me deploy first. I had every intention of seizing the initiative but forgot to.
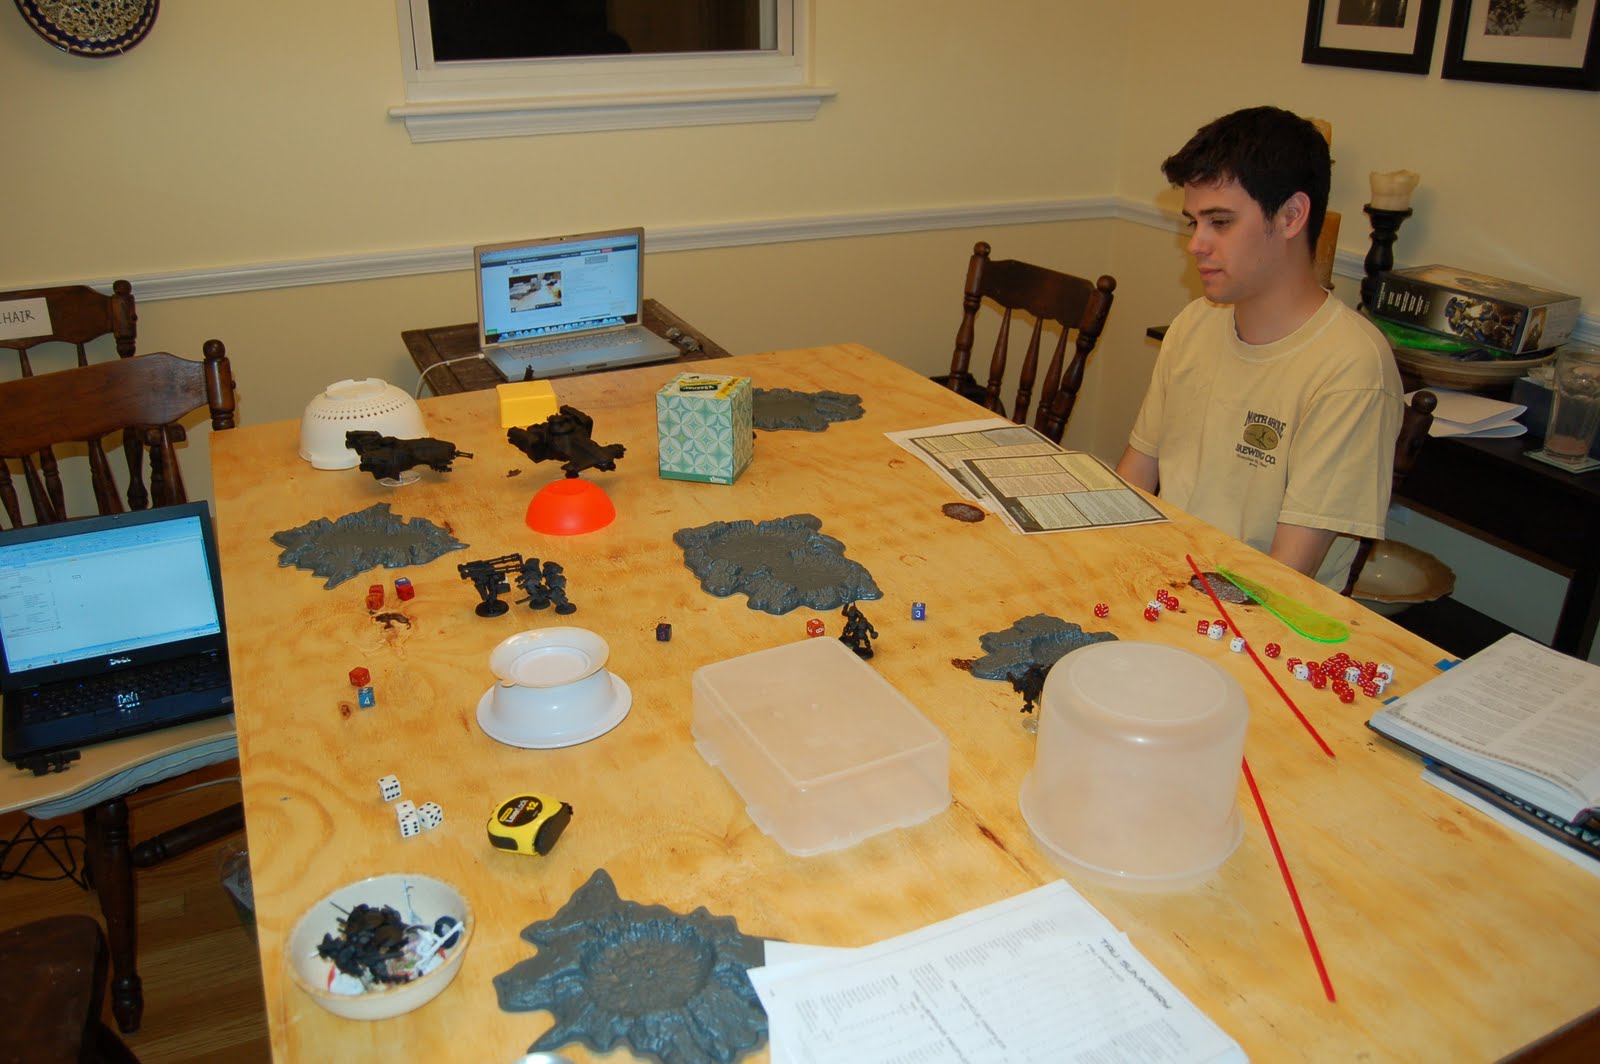
Deployment and infiltration complete. Mike's scouts in the crater there did not take a scout move.
End of turn 1. Mike took out my Broadside's gun drone, caused a wound on the Broadside, and pinned it. He did pass his leadership test to not break, though. I did a shitty job deploying my Hammerhead behind cover and the Predator zapped it for a Crew - Shaken result. I moved my Kroot around to start moseying in the direction of the Captain; I keep forgetting that they have rapid fire weapons (I only think of them as melee and bubble wrap) so they didn't shoot at him. It's hard to tell, but my Stealthsuit team and 2 HQ Crisis suits pulled of a kill or two against the scouts.
Another view of the end of turn 1.
I think this was the end of Mike's player turn 2. ASMs are in melee with my Broadside and will remain there into turn 5. The captain assaulted the Kroot and started whittling them down. The Predator got another Crew - Shaken hit against my Hammerhead. The Dreadnought splattered a Stealthsuit with a multimelta shot, but the other 2 passed their leadership test and held.
End of my player turn 2. I finished off the Scouts with my Stealthsuit and HW teams and retreated them away from the Dread. The XV88 stood back up and continued whaling away on the ASMs, with everybody passing their armor saves (get used to reading that). The Koot and the Captain traded blows, with the Captain knocking off a few more Kroot but failing to break their spirits. I think they put a single wound on him here. I managed to destroy the storm bolter on the Rhino.
End of Mike's turn 3. The Pred fried a Stealthsuit here with a lascannon shot. I think. It might have been an HQ drone. Either way we did the Instant Death rule incorrectly; whoever the target was should've gotten a save, which I didn't take. Just helps to make up for the fact that I was reading the Broadside Shas'vre statblock for several turns instead of the Shas'ui statblock
because they're not one after the other on the Tau summary page. WTF? All it did was bump his leadership by 1, and I don't think he passed any tests by that slim a margin anyhow. The Dread blasted some shots at my Stealthsuit team (I think?) but failed to kill anyone.
End of my turn 3. Dread is dead, due to some sharp shooting from my HQ Crisis suits. The Broadside/ASM scuffle is still stalemated. My Devilfish with embarked Fire Warriors arrived from reserve and my Hammerhead finally got to come out and play and managed to pop the Rhino but caused no casualties among the 10-man TSM squad (one of whom is wielding a lascannon). I did a horrible job moving both of my skimmers, though, and they were not positioned well at all. Mike definitely zapped a drone by now, and one of the HQ suits has a wound or 2 on it. At this point most of my infantry units have NO CLUE what they should be doing, because you can't shoot into melee and that fucking Broadside
would not die. Kroot take a few casualties, hold, and maybe give the Captain his 2nd wound.
End of Mike's turn 4. Kroot are all dead (Captain is cowering behind the yellow building there), the wounded HQ XV8 is dead (lascannon shot, took a save and failed), and the Hammerhead's Ion Cannon got blasted off. ASMs suck miserably and can't kill my Broadside, god damn it all.
End of my turn 4. My surviving Shas'el showed both his personal superiority and the manifest superiority of the Greater Good by rolling a 6 for penetration vs. the Pred's side-armor and then a 6 for damage-result, taking it down with a missile pod shot through an engine hatch or something. My Stealthsuits start to move toward the TSM squad, as does the Shas'el with his assault move. The Devilfish *pew*pew*s with it's burst cannon and drones, but doesn't do much; ditto the Hammerhead's Smart Missile System.
Mike's turn 5 finally saw the death of my XV88, and his lascannon took off the Hammerhead's SMS. I was barely finishing my moves (Hammerhead decided not to tank shock, Devilfish was moving up to disembark for rapid-fire vs. the SM squad, Shas'el and Stealthsuits were going to pour it on vs. the ASMs) when my youngest puked up most of a bottle. We tried to work in some shooting while I was helping my wife deal with that, but quickly decided to just call the game as it was almost exactly 2230 anyhow.
Hopefully we're going to play again on Monday, and I want to use the same lists as I've got ideas on how to work my tactics somewhat differently to force a different type of game.


No comments:
Post a Comment